Getting started
When you open Obsign, it asks one question: what’s your situation? Pick the answer that fits and the app walks you through the right steps.
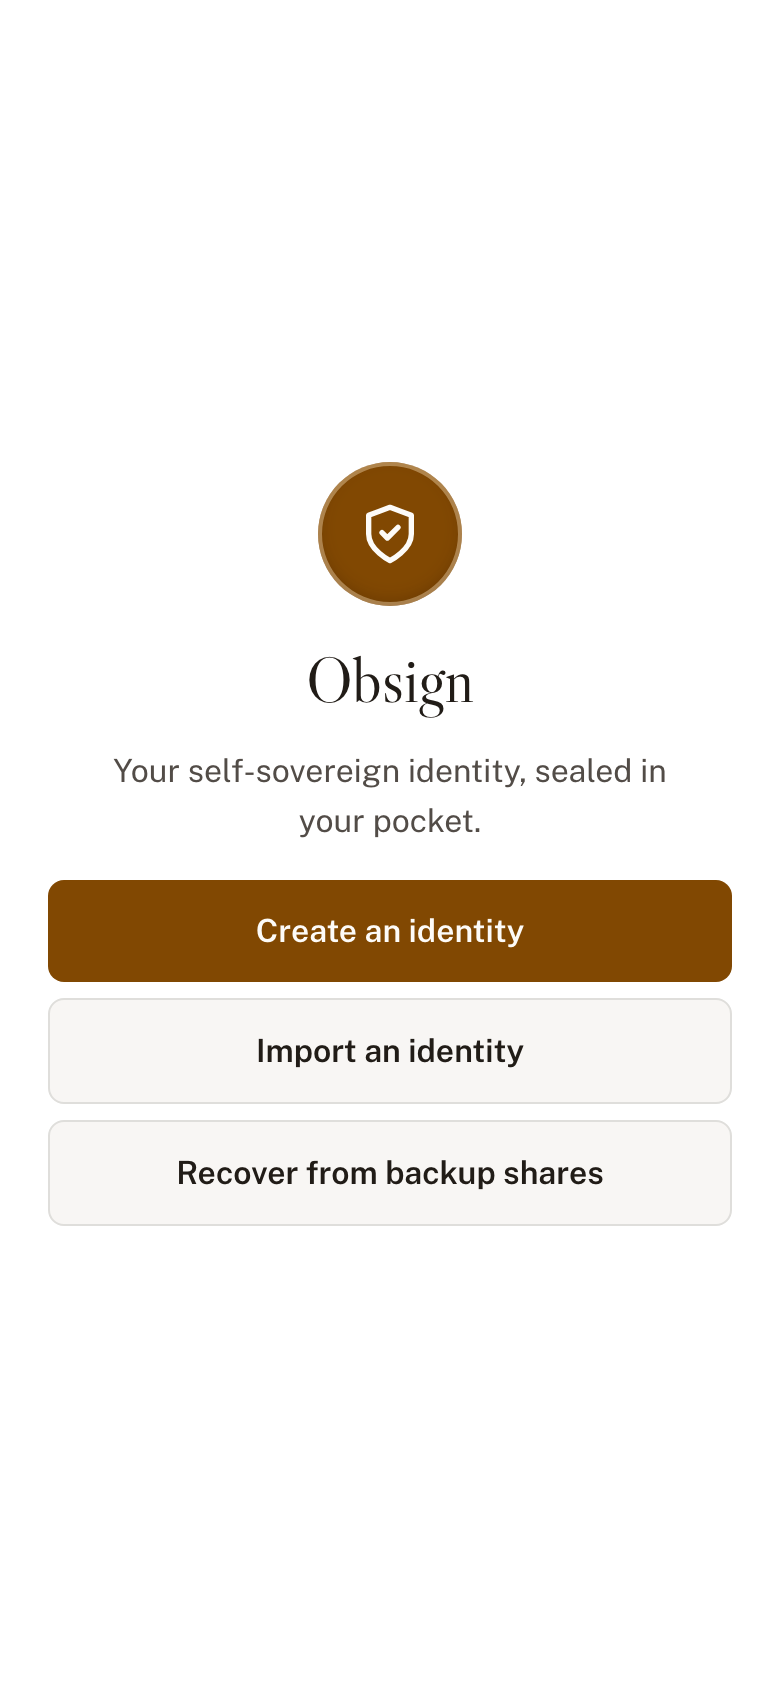
- Starting fresh — create a brand-new identity on a server you choose.
- I have an account somewhere — you already have a Bluesky (or other ATProto) account. Obsign puts your device in charge of it; the account stays where it is.
- I lost access to my wallet — bring an identity back onto a new device using two of its three backup shares (see Recovering with two shares).
- My server is gone — your server has disappeared and you need your identity somewhere else.
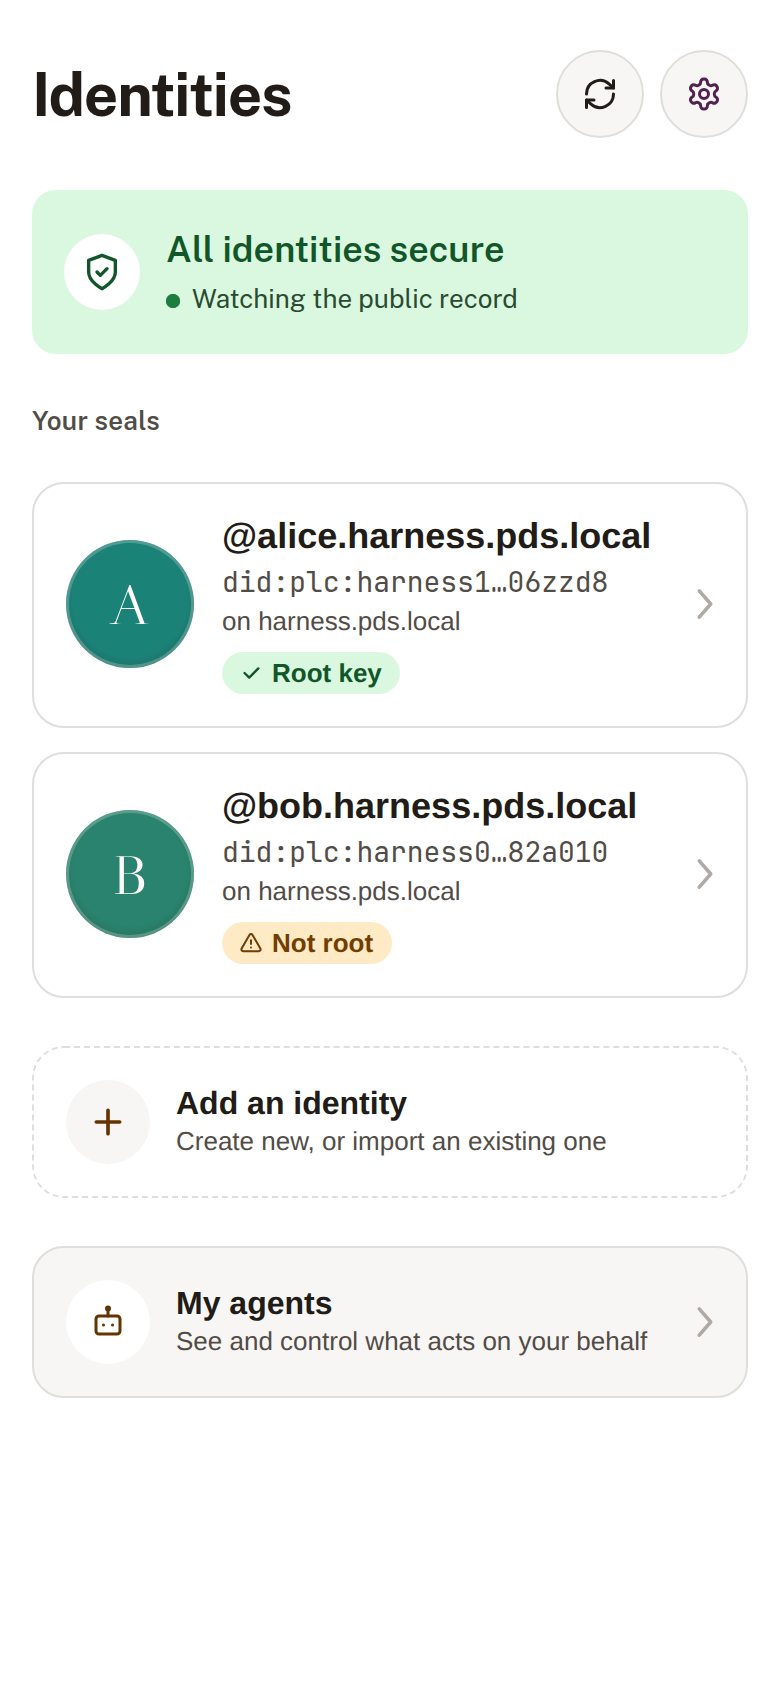
Already have identities in the wallet? Tap Add an identity at the bottom of your identity list to reach this screen again.
Create a new identity
Section titled “Create a new identity”- Choose Starting fresh.
- Follow the prompts to pick a handle on an available domain and set up your account.
- Obsign generates your device key right on your phone and seals it there. The key never leaves your device unencrypted.
- Before you finish, Obsign walks you through saving your recovery share. You can’t skip this step. See 2-of-3 Shamir backup.
Bring in an existing account
Section titled “Bring in an existing account”If you already have an account — on bsky.social, a self-hosted server, anywhere — choose I have an account somewhere. Obsign makes this device the account’s master key. That’s what turns on tamper monitoring, the 72-hour reversal window, and your own backups.
Your account doesn’t move. It keeps the same server and the same handle. This works with any spec-compliant server, Custos or not.
Moving the account to a different server is a separate decision you can make later, from the identity’s own screen. See Migrating your identity.
Who holds the keys
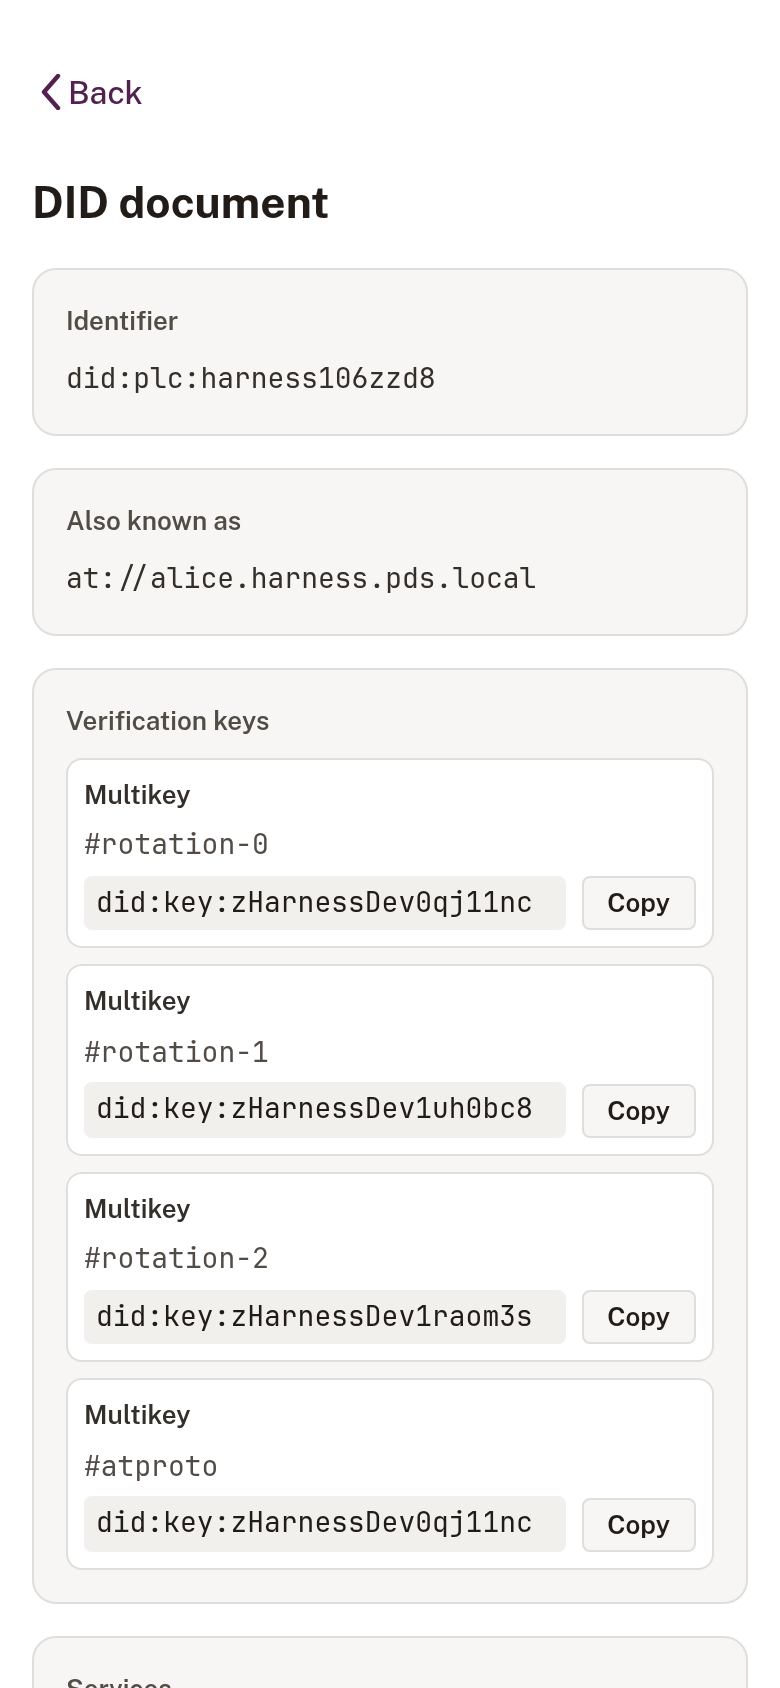
Section titled “Who holds the keys”Your identity is controlled by a ranked list of keys. Higher entries outrank lower ones:
- Your device key, sealed on your phone and held by Obsign.
- Your recovery key, protected by your 2-of-3 Shamir backup. Your device creates it; the server never sees it.
- The server’s key, used for routine operations.
Because your keys outrank the server’s, no server can take the identity from
you, and you can always leave. You can see the list on an identity’s DID
document screen, where the entries are labeled #rotation-0, #rotation-1,
and so on.
Advanced: anchor your identity to a domain you own (did:web)
Section titled “Advanced: anchor your identity to a domain you own (did:web)”By default, a new identity is a did:plc: an entry in ATProtocol’s public PLC directory. That’s the right choice for almost everyone, and the rest of these docs assume it.
If you run your own domain, Obsign can instead anchor your identity to it, as
did:web:your-domain.example. The wallet helps you compose the identity
document, confirms it’s live on your domain before the server accepts it, and
can either host the document for you or leave the hosting to you.
Know the trade before choosing it:
- You gain an identity rooted in something you already own. Control comes from your domain and the identity document it serves, not from a directory entry or a server’s say-so.
- You give up the safety net. Tamper monitoring, the 72-hour reversal window, and the 2-of-3 share backup don’t apply to a did:web identity. Recovery means controlling the domain, and losing the domain means losing the identity.